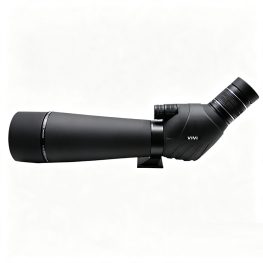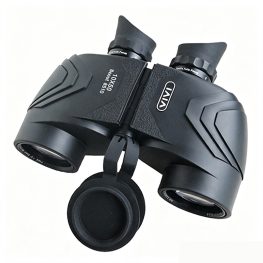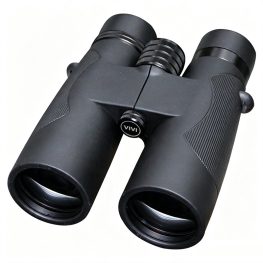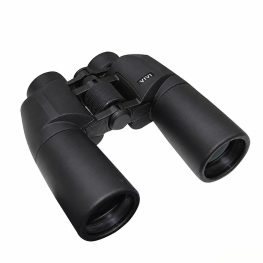

Description: Wildlife rarely performs at your convenience. A warbler drops from a branch for a second, a deer lifts its head in dim brush, and a shorebird scurries along a mudflat...
Wildlife rarely performs at your convenience. A warbler drops from a branch for a second, a deer lifts its head in dim brush, and a shorebird scurries along a mudflat just as light fades. That is why learning how to choose binoculars for wildlife observation is less about chasing specs and more about matching an instrument to the way you actually see animals. I have spent many mornings with different pairs, some excellent, some merely serviceable, and the pattern is simple: the best binoculars for wildlife observation are the ones you will carry, raise quickly, and trust when conditions turn awkward.
Understanding Magnification, Objective Lens Size, and Field of View
Magnification is the first number people notice, and it is often the first mistake they make. A ten-power pair can bring distant antlers or raptor feathers closer, yet it also amplifies hand tremor and narrows the field of view. In dense woodland, that narrow window can be frustrating. You swing the binoculars, lose the subject, and spend precious seconds searching rather than observing. Eight power, by contrast, tends to be more forgiving. It gives a wider scene, steadier image, and an easier time following fast birds or skittish mammals. This is one of the key lessons in how to choose binoculars for wildlife observation: magnification should solve a viewing problem, not create a handling problem.
The objective lens, the second number, controls how much light the instrument gathers. A 42 mm lens is a common sweet spot for many habitats because it supports decent low-light performance without becoming a burden. A 32 mm lens is lighter and still capable in good daylight, while a 50 mm lens may help on long twilight watches but can feel heavy after an hour around your neck. Weight matters more than catalog pages admit. A slightly dimmer pair that you actually take on a long trail beats a bright pair left in a drawer.
Exit pupil is another quiet clue that many beginners ignore. It is the tiny circle of light you see when holding the binoculars at arm’s length and looking into the eyepiece. A larger exit pupil can feel more comfortable at dawn, dusk, or under heavy canopy, while a smaller one may be perfectly fine in bright daylight. When you are choosing binoculars for wildlife observation, think about the hours you actually spend outside. A pair that looks impressive in a sunny showroom may feel strained in a foggy marsh, and that is where honest field testing matters.
Field of view deserves equal attention. Wildlife observation is not always about static subjects. A flock of finches moving through reeds, a squirrel darting along a fence, or a kingfisher flashing across a river demands a generous view. When you are learning how to choose binoculars for wildlife observation, check the real field width at a thousand yards or meters, not just marketing labels. A wide field helps you locate animals, then magnify them once they are settled. A narrow field can turn the same species into a moving target.
Question: If I am trying to choose binoculars for wildlife observation, should I always pick the highest magnification available?
Answer: No, and that is where many beginners overbuy. Higher magnification is useful in open landscapes, distant game, or when detail matters more than tracking. For forest birds, coastal migrants, or animals that move unpredictably, a steadier 8x pair often delivers more usable observation. The right answer depends on habitat, patience, and arm strength. If your hands shake, if you carry gear for miles, or if you want a relaxed view, choose binoculars for wildlife observation that make the animal easier to find and keep in frame.
Ergonomics, Durability, and Optical Quality for Field Use
Comfort is not a luxury in the field; it is part of the optical system. A pair that pinches your face, strains your neck, or requires awkward hand positioning will be used less often. Wildlife observation asks for quick reactions. You need to lift the eyepieces without fumbling, adjust focus smoothly, and keep your view aligned even when wearing glasses. Eye relief matters, especially for eyeglass wearers. A long eye relief allows you to see the full field without pressing your eye hard against the eyecup. When you evaluate how to choose binoculars for wildlife observation, hold the pair for ten minutes, not ten seconds. Fatigue reveals truths that brochures hide.
Build quality also shapes trust. Waterproofing and fog proofing are not just labels for rainy mornings. Moisture can creep into housings, coatings can cloud, and internal fog can make a bright day look gray. Nitrogen or argon filled pairs resist this better, but seals still matter. Check the focus wheel, hinge, and eyecups. A stiff focus wheel can miss a split-second opportunity, while a loose hinge may shift alignment after a year in a pack. Wildlife binoculars take knocks, dust, salt air, and sudden temperature changes. The best instruments feel quiet in the hands, not merely pretty in a shop.
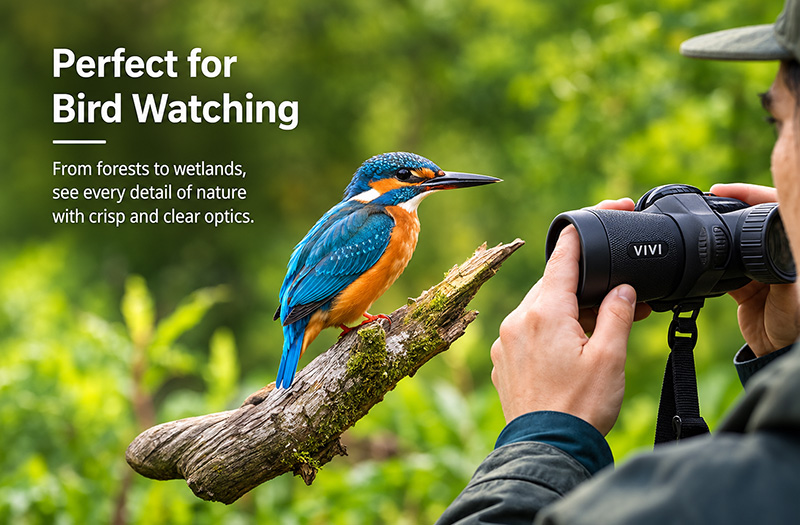
Optical quality is where price often earns its keep. Coatings, glass type, prism design, and correction for chromatic aberration affect color, contrast, edge sharpness, and how natural the view feels. A cheaper pair may show acceptable center sharpness yet reveal distracting purple fringing along branches, soft edges, or a washed-out tone in shadow. For casual backyard birds, that may not ruin the experience. For long-distance raptor identification, wetland detail, or dusk mammals, those differences can decide whether you see a field mark or merely guess. This is why I tell people that learning how to choose binoculars for wildlife observation is partly a lesson in honest comparison: look at the same subject through different pairs under the same light.
Close focus is another underappreciated factor. Many wildlife observers underestimate how often they want a nearer view. A butterfly on a flower, a frog at pond edge, or a lizard on warm stone can be just as interesting as a distant eagle. If the minimum focus distance is long, you may miss the intimate moments that make a day memorable. A shorter close focus range adds flexibility without demanding more magnification, and it often makes the pair feel more versatile in mixed habitats.
There is also a difference between looking sharp and feeling right. A pair of binoculars for wildlife observation may have excellent numbers on paper yet still be annoying to use. The diopter may drift, the strap may twist, the rubber armor may collect dirt, or the image may feel slightly disorienting when your eyes move from left to right. These small irritations add up. In my experience, the best wildlife binoculars are not always the ones with the longest spec sheet. They are the ones that disappear into the moment, letting you focus on the animal instead of the tool.
Question: How do you know whether a pair of binoculars for wildlife observation is worth the price?
Answer: You know by using it in the conditions you care about. Compare brightness, edge sharpness, color balance, and comfort with a familiar subject. If you wear glasses, check the full field. If you hunt or bird at dawn, test them in shadow. If you travel light, weigh them against a day pack. A more expensive pair should not merely add numbers; it should remove friction. The best value is not the cheapest model or the priciest flagship. It is the pair that helps you see more clearly, more comfortably, and more often. For many observers, that means choosing binoculars for wildlife observation that balance 8x or 10x power, a reasonable objective lens, dependable weather sealing, and an ergonomic grip that stays with you through long field days.
In the end, wildlife observation is personal. A coastal birder watching gulls from a boardwalk has different needs than a mountain watcher scanning ridges for elk, and both differ from a backyard observer who wants a simple, forgiving pair. There is no single formula for how to choose binoculars for wildlife observation, but there is a reliable process: define your main habitat, choose magnification that you can hold steady, select an objective size you can carry, and insist on comfort and durability. Then test the optics with your own eyes, because specifications can impress while the view disappoints. My own preference leans toward 8×42 binoculars for wildlife observation in mixed cover, with a lighter 8×32 option for long hikes and a 10×42 for open distances when the terrain allows. That balance keeps the view stable, the field wide enough to stay engaged, and the details sharp enough to make each encounter feel real. The right pair does not just magnify animals. It invites you to notice them.